There's nothing quite like the festive charm of Patriotic Oreo Balls to kick off your summer celebrations. With their rich chocolatey center, sweet candy coating, and bright red, white, and blue sprinkles, they’re the perfect bite-sized treat for Memorial Day, Fourth of July, or any Americana-themed gathering.
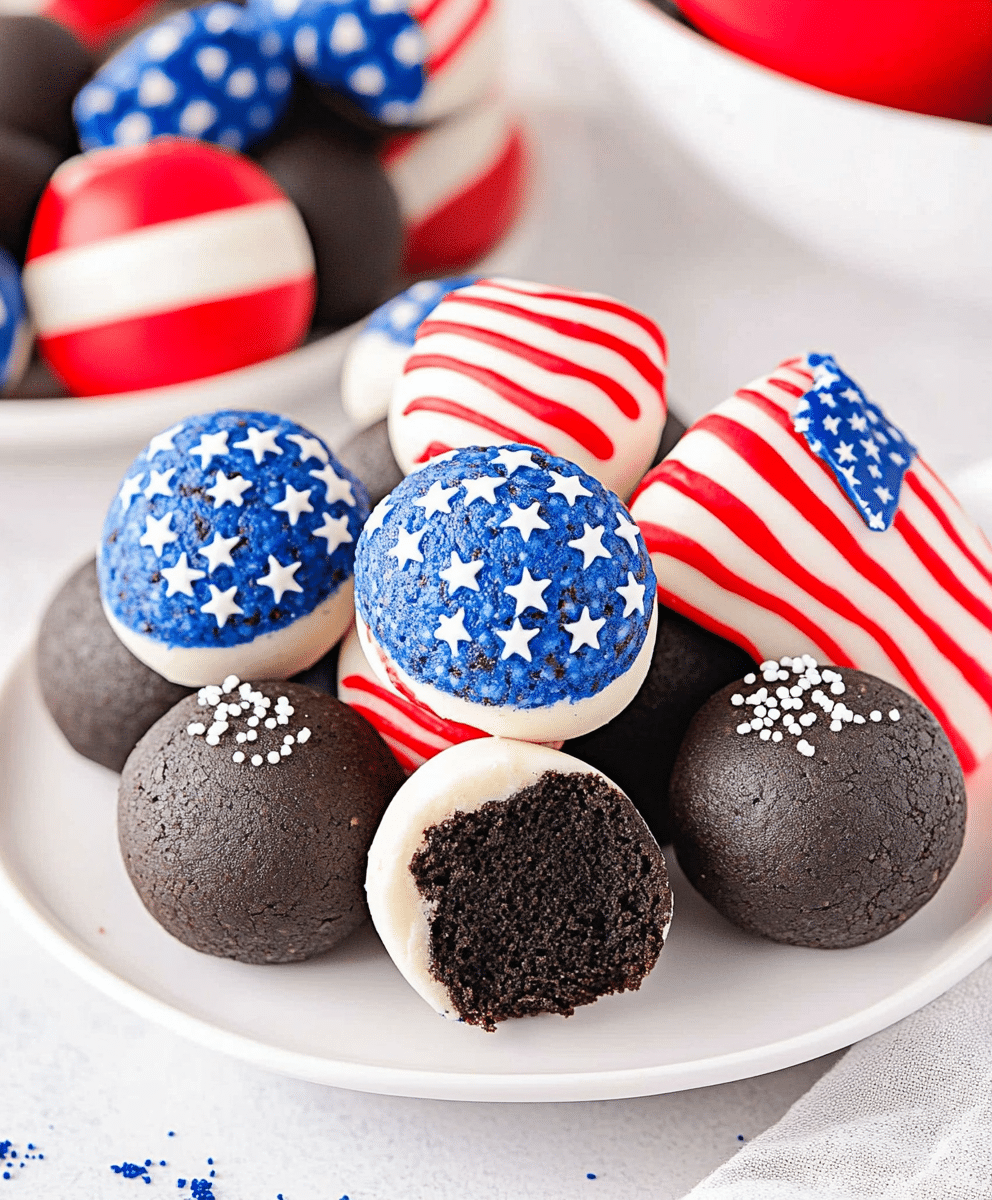
I made these for the first time during a July 4th block party, and they vanished within minutes. Ever since, they’ve become my go-to no-bake dessert when I want something fun, festive, and absolutely irresistible. Whether you're a beginner baker or just looking for something quick and crowd-pleasing, this one’s for you.
If you love easy desserts that look like you spent hours on them (but didn’t!), then read on.
Why You'll Love These Patriotic Oreo Balls
Get ready to fall in love with the easiest dessert you’ll make this summer. These Patriotic Oreo Balls aren’t just adorable—they're delicious, incredibly easy to make, and a guaranteed hit with both kids and adults.
First off, they require only a few ingredients. If you’ve got a package of Oreos, some cream cheese, and chocolate candy melts, you’re nearly there. No fancy tools or baking required.
They’re also totally no-bake, which means no heating up your kitchen during those hot summer days. Just mix, chill, dip, and decorate.
Want something that travels well? These Oreo balls hold up beautifully at room temperature for a few hours, making them perfect for BBQs, picnics, and potlucks.
Lastly, they’re completely customizable. You can use different color coatings or sprinkles for any holiday—think green and red for Christmas, or pastel tones for Easter. But today, it’s all about the red, white, and blue.
These little bites deliver big on taste and presentation—let me show you how simple they are to make.
Ingredients Notes
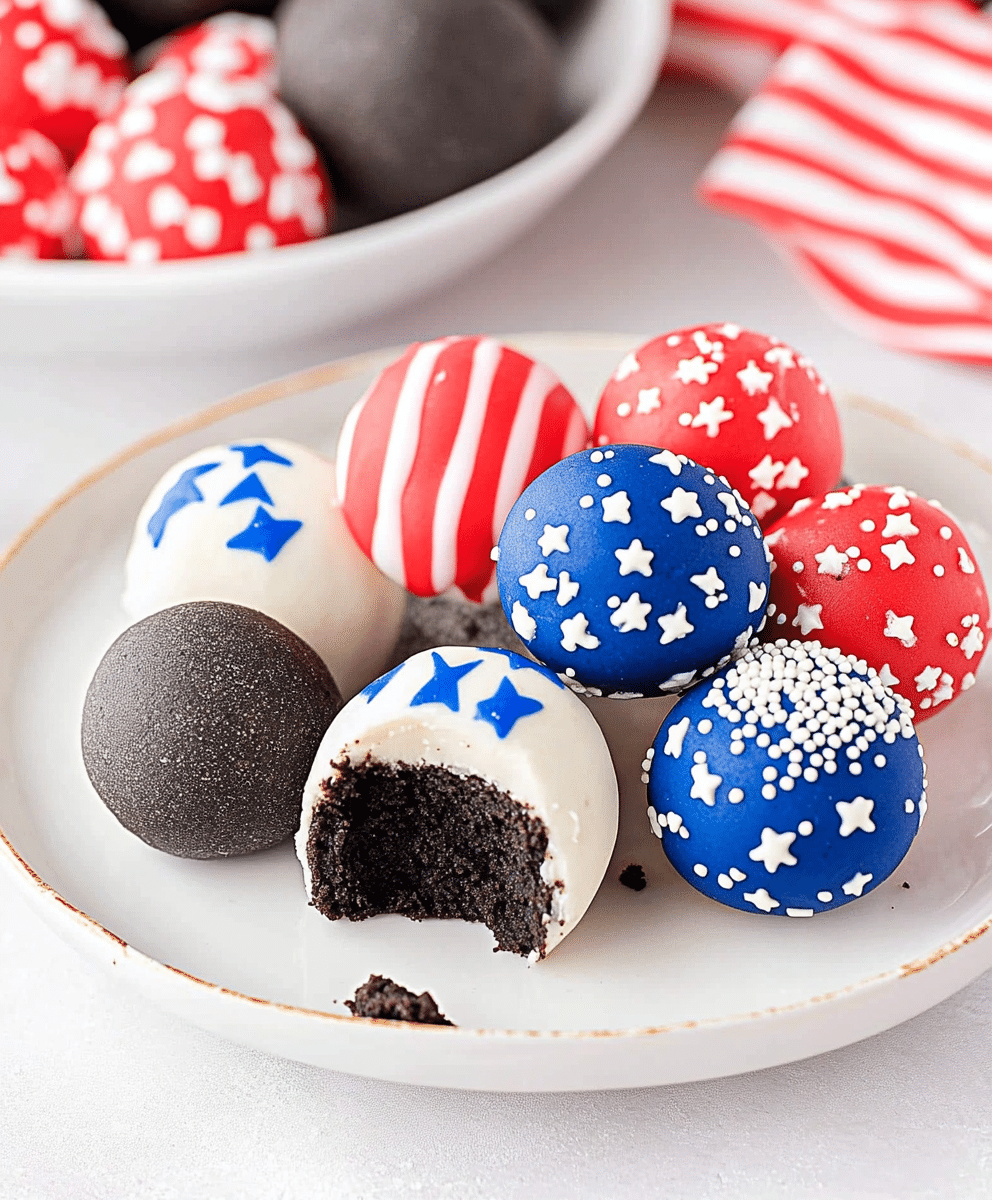
The beauty of Oreo balls is their simplicity, but each ingredient still plays a key role in achieving that perfect bite. Here's what you need to know before diving in.
Start with classic Oreo cookies. You’ll be crushing the whole cookie—filling included—into fine crumbs. While any variety technically works, I recommend sticking with original Oreos for the most balanced flavor and texture. Double Stuf can make the mixture too soft, and flavored versions can overpower the patriotic theme.
Next, you’ll need cream cheese, and it must be full-fat and softened. This is the glue that holds your Oreo mixture together. The richness of the cream cheese cuts the sweetness of the Oreos and gives that signature truffle-like texture. Low-fat versions often result in a crumbly mixture that doesn’t hold its shape well.
For the coating, go with white chocolate or vanilla candy melts. These provide the perfect neutral base for patriotic sprinkles to pop against. Candy melts are easier to work with than real white chocolate and harden more evenly, which makes for a prettier finish.
Now for the fun part: patriotic sprinkles! You can go for stars, jimmies, or even colored sanding sugar. Sprinkle them on right after dipping each ball, before the coating hardens, so they stick well.
A few basic kitchen tools will help too. A food processor makes crushing the Oreos a breeze, and a small cookie scoop helps form uniform balls. Parchment paper is essential for mess-free chilling and dipping.
How To Make These Patriotic Oreo Balls
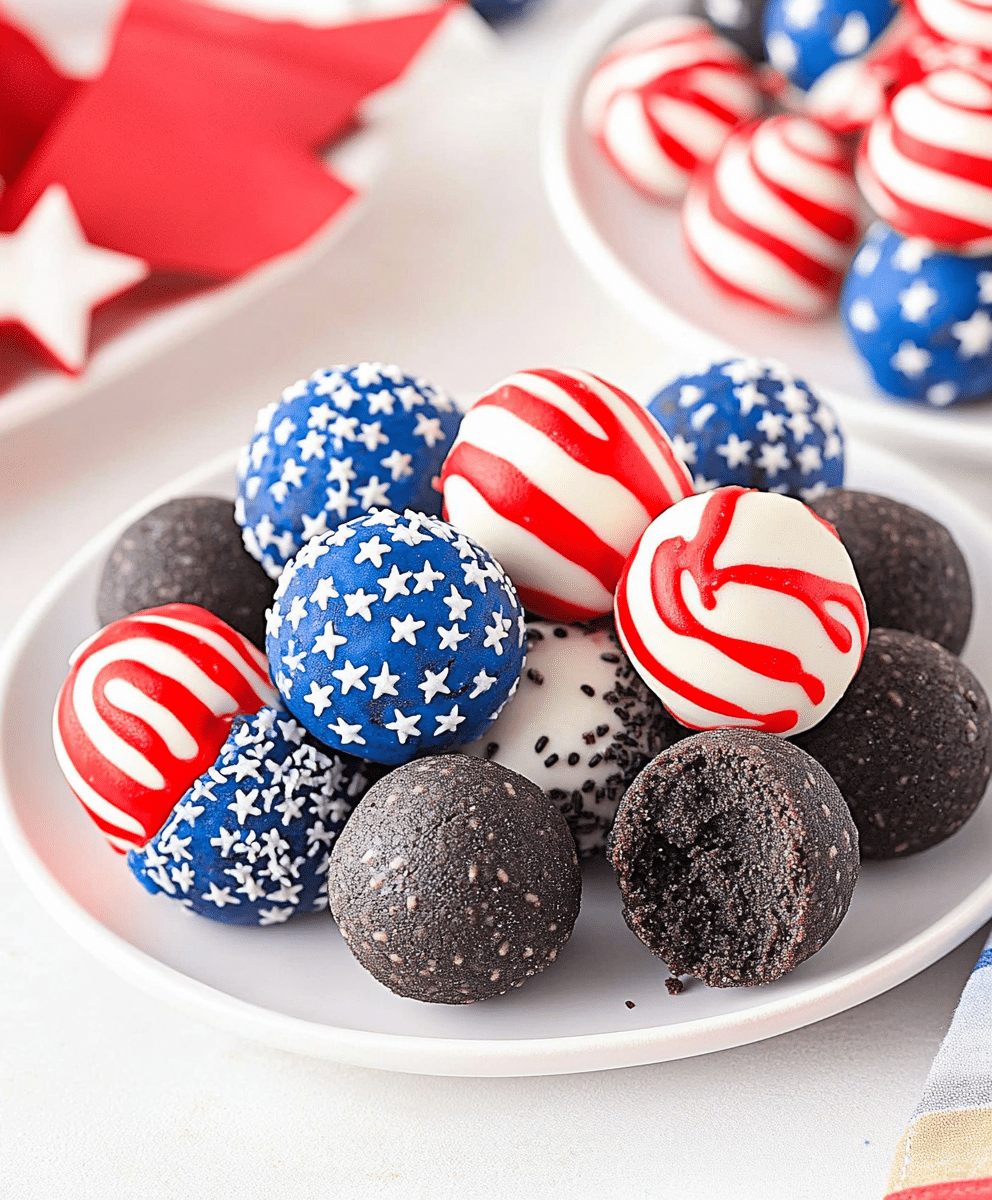
Creating these no-bake Oreo balls is a breeze—and even a bit therapeutic! Here’s how to bring these festive treats to life.
Start by placing your Oreos in a food processor and pulsing until you get fine crumbs. You want everything well-blended with no large cookie chunks. If you don’t have a food processor, you can crush them in a zip-top bag using a rolling pin—it’ll just take a little more time and muscle.
Transfer the crumbs to a mixing bowl and add the softened cream cheese. Use a spatula or clean hands to mix until fully combined. The mixture should feel like thick cookie dough—slightly sticky, but not wet. Once everything is incorporated, you’re ready to shape.
Using a small cookie scoop or tablespoon, form the mixture into bite-sized balls and roll between your palms to smooth them out. Place them on a parchment-lined baking sheet and freeze for at least 20–30 minutes. This step is crucial—it helps the balls stay intact when dipped in warm chocolate.
While the balls are chilling, melt your candy coating according to the package instructions. I like to use a microwave-safe bowl and heat in 30-second intervals, stirring between each until smooth. Avoid overheating or the coating may seize.
Now comes the fun part—dipping and decorating! Drop each ball into the melted coating, then lift with a fork, letting the excess drip off. Place it back on the parchment paper and immediately add sprinkles before the coating sets. Repeat with the rest of the batch.
Once all the balls are coated and decorated, let them sit at room temperature or in the fridge until the coating hardens completely. In total, expect the process to take about an hour from start to finish, most of which is hands-off time. What you’ll end up with is a tray of showstopping treats ready to steal the spotlight at any patriotic celebration.
Storage Options
These festive treats store beautifully, making them a great make-ahead dessert. Once the coating is fully set, transfer the Oreo balls to an airtight container, separating layers with wax or parchment paper to prevent sticking.
In the refrigerator, they’ll keep fresh for up to two weeks. The coating helps seal in moisture, so they won’t dry out.
If you want to prep further in advance, you can also freeze them. Just place the coated balls on a tray in the freezer until solid, then transfer to a freezer-safe container or bag. They’ll last up to 3 months this way. Thaw them overnight in the fridge before serving.
To reheat or soften slightly, you can let refrigerated balls sit at room temperature for 10–15 minutes before serving for the best texture. Avoid microwaving as it can melt the outer coating.
Variations and Substitutions
These Patriotic Oreo Balls are already festive, but there are plenty of ways to put your own twist on them.
Try using different Oreo flavors, like Golden Oreos or Red Velvet, for a subtle flavor change that still works with the theme. Just be aware that the color of the filling may affect the final appearance.
If you're not a fan of cream cheese, you can swap it for mascarpone cheese or even a firm vanilla frosting. Keep in mind the texture will change slightly, but it still yields a tasty result.
Want to skip the candy melts? You can coat the balls in dark chocolate or milk chocolate instead. They won't be white, but you can still make them patriotic with red and blue sprinkles.
For a healthier option, try a dairy-free cream cheese and gluten-free cookies. There are plenty of great options available now, so you can still make a version that works for your dietary needs.
Don’t be afraid to get creative—these balls are a blank canvas. Dip half in one color and half in another for a two-tone effect, or add a touch of edible glitter for extra sparkle.
PrintPatriotic Oreo Balls Recipe
Celebrate Independence Day with these Patriotic Oreo Balls, a no-bake dessert made with crushed Oreos, cream cheese, and festive red, white, and blue candy melts. These treats are not only eye-catching but irresistibly delicious—ideal for holiday parties, BBQs, or patriotic-themed gatherings.
- Prep Time: 30 minutes
- Cook Time: 0 minutes (no-bake)
- Total Time: 1 hour (including chilling)
- Yield: About 24 Oreo balls 1x
- Category: Dessert
- Method: No-Bake
- Cuisine: American
- Diet: Vegetarian
Ingredients
-
36 Oreo cookies (regular, not Double Stuf)
-
8 oz (1 package) cream cheese, softened
-
8 oz white candy melts or almond bark
-
Red and blue candy melts (optional for drizzle)
-
Sprinkles (red, white, blue for decoration)
Instructions
-
Crush Oreos: Place cookies in a food processor and pulse into fine crumbs.
-
Mix: Combine cookie crumbs with softened cream cheese until fully blended.
-
Form Balls: Scoop and roll mixture into 1-inch balls. Place on a parchment-lined tray.
-
Chill: Freeze for 20–30 minutes until firm.
-
Melt Candy: Melt white candy melts in the microwave in 30-second intervals.
-
Dip Balls: Coat each Oreo ball in melted white chocolate. Let excess drip off.
-
Decorate: Drizzle with melted red and blue candy, or top with patriotic sprinkles.
-
Set: Refrigerate for 10–15 minutes until coating is firm.
Notes
-
Use a fork or dipping tool for easier coating.
-
Store in an airtight container in the fridge for up to a week.
-
Great make-ahead dessert for parties.
Nutrition
- Serving Size: 1 Oreo ball
- Calories: 120
- Sugar: 10g
- Sodium: 85mg



Leave a Reply